My holiday ends today (boo!), so here’s the follow-on from the previous holiday crafting update. It’s been a really good week off, with good weather that didn’t get too hot for me until yesterday. Today I’m pretty sluggish and feel like sleeping all day. I may well do that anyway, I’m still on holiday and there’s nothing pressing to do. I achieved most of what I wanted to along with some things I hadn’t planned on. I ‘lost’ a day to that epic photography session, but that’s fine as I was still creating and I had fun (I’ve also got a whole bunch more photographs from yesterday, but don’t feel like sorting them today). In turn the watermelon hasn’t been photographed (though maybe later, the eating it part is tempting, so the photography will happen at the same time) and I didn’t get some planned drawing done. Again, that’s fine, I can do that in the evenings after work.
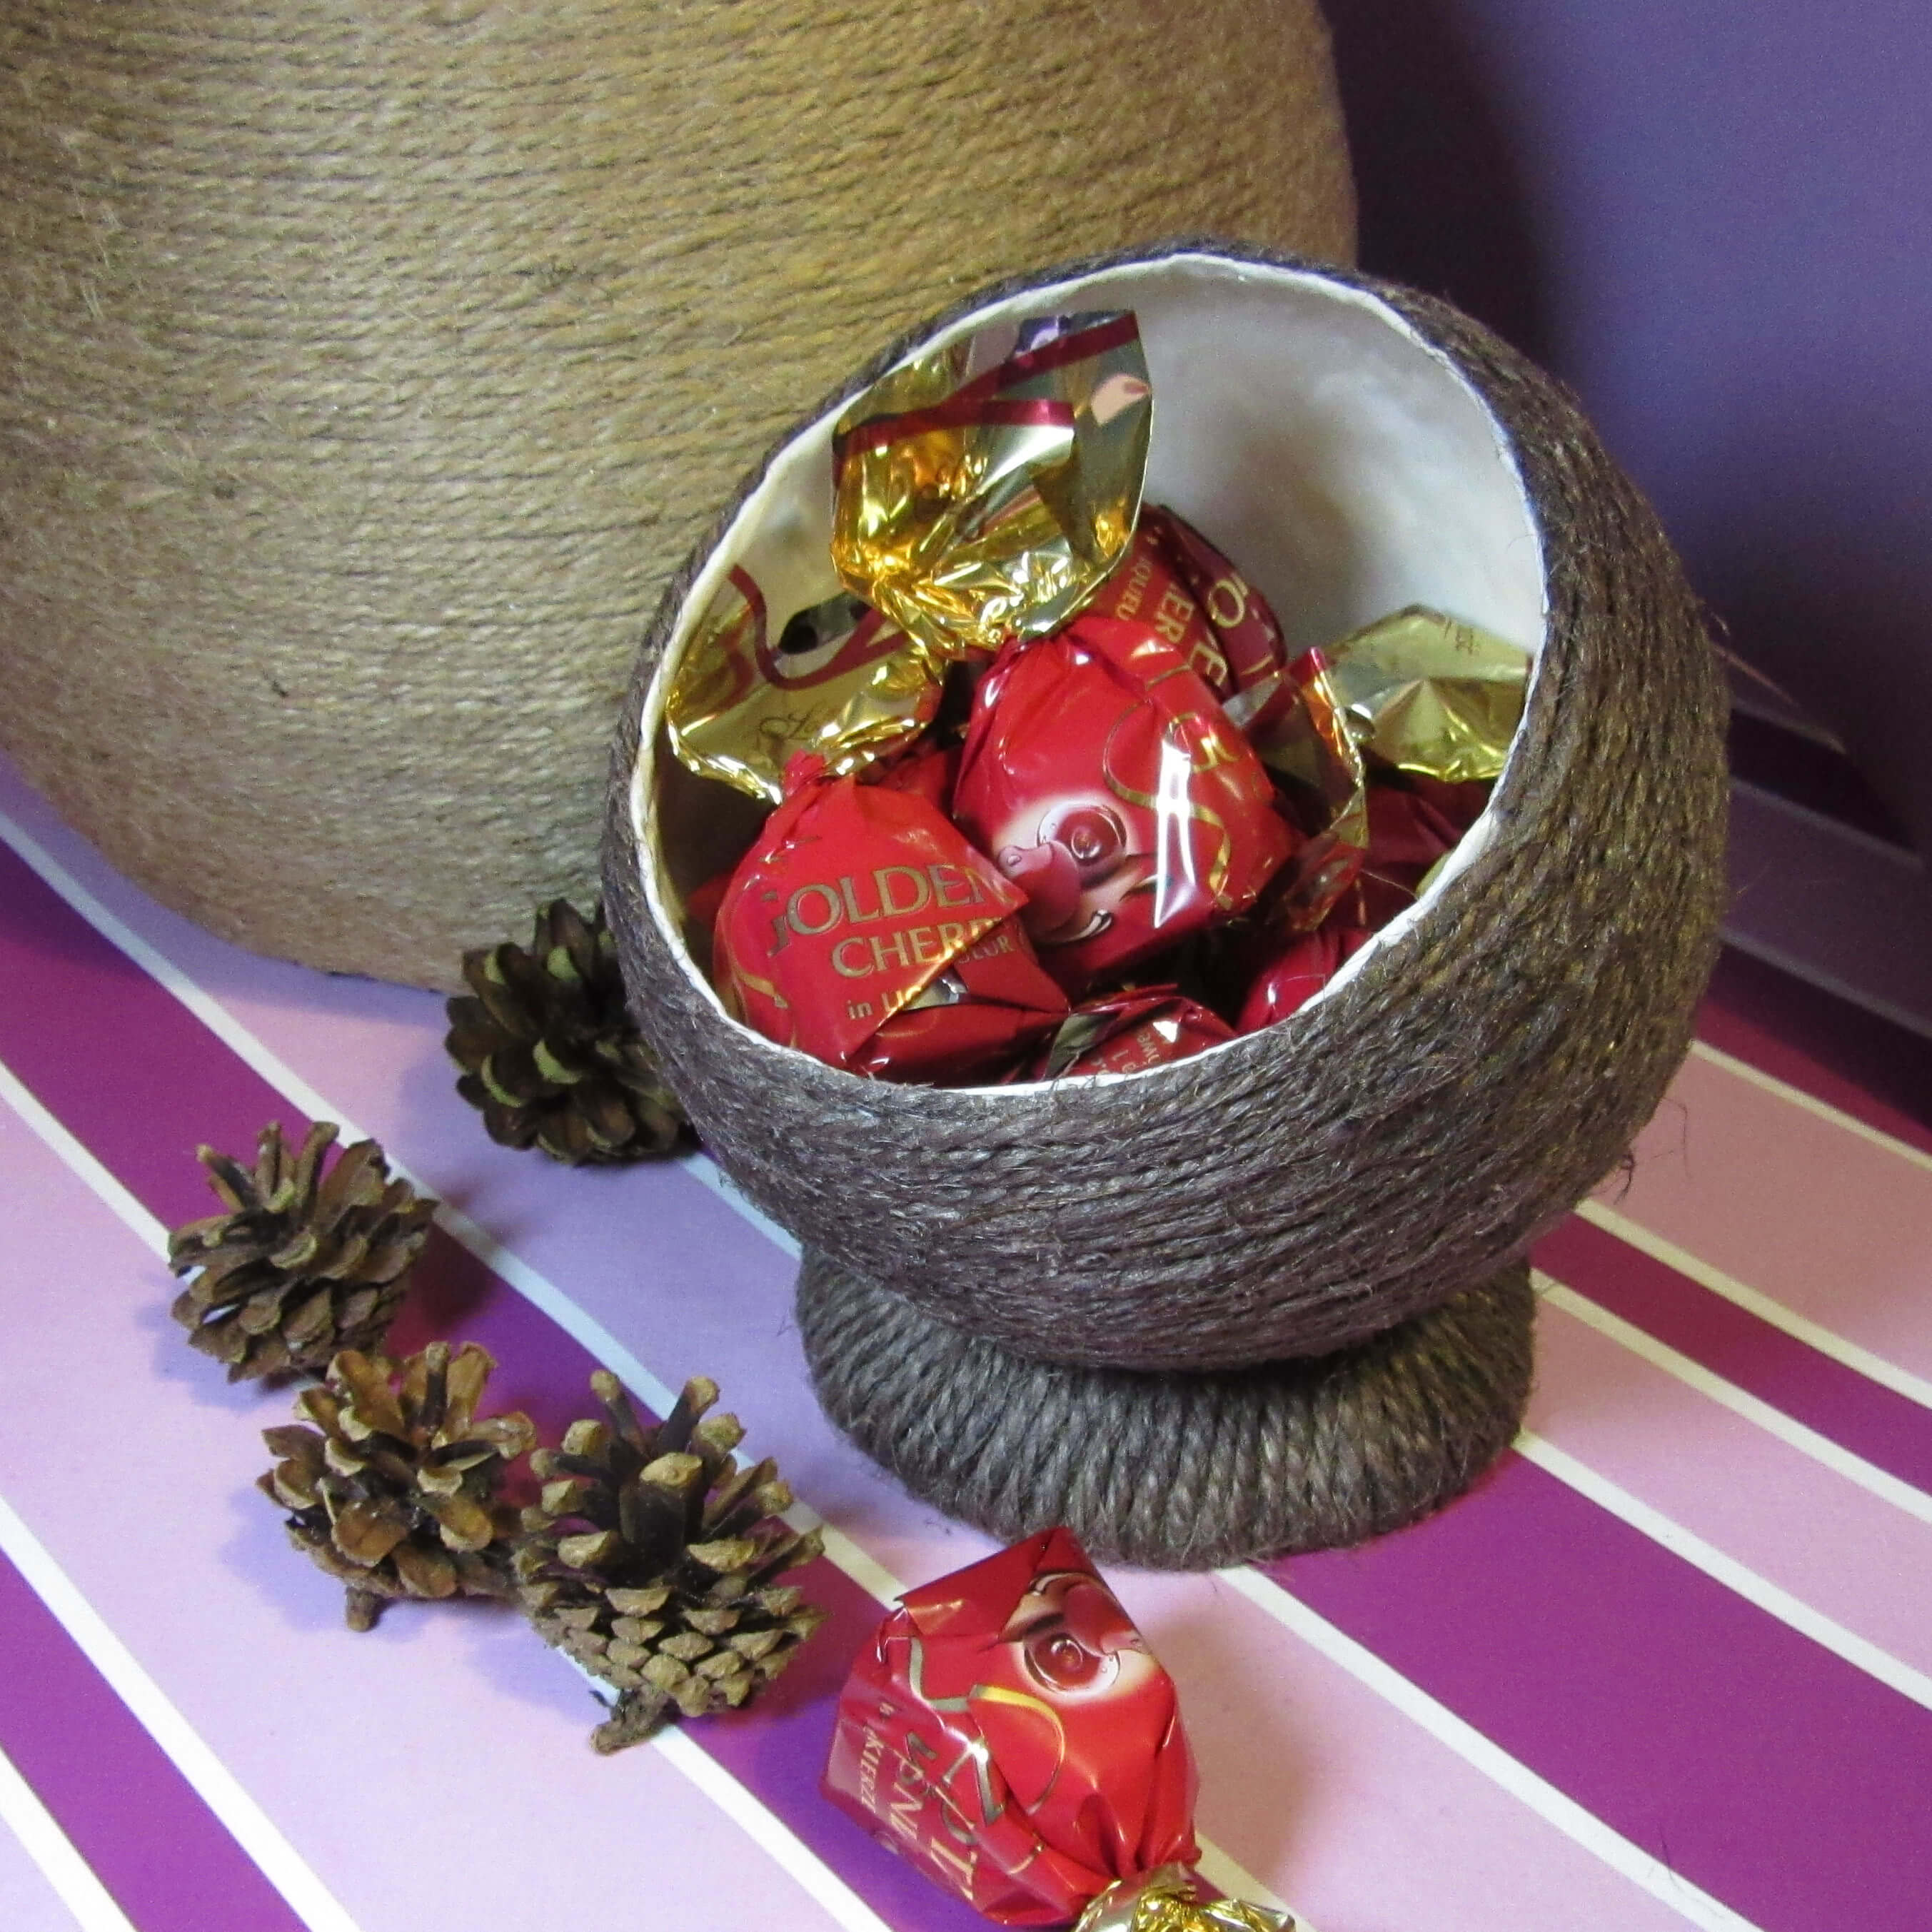
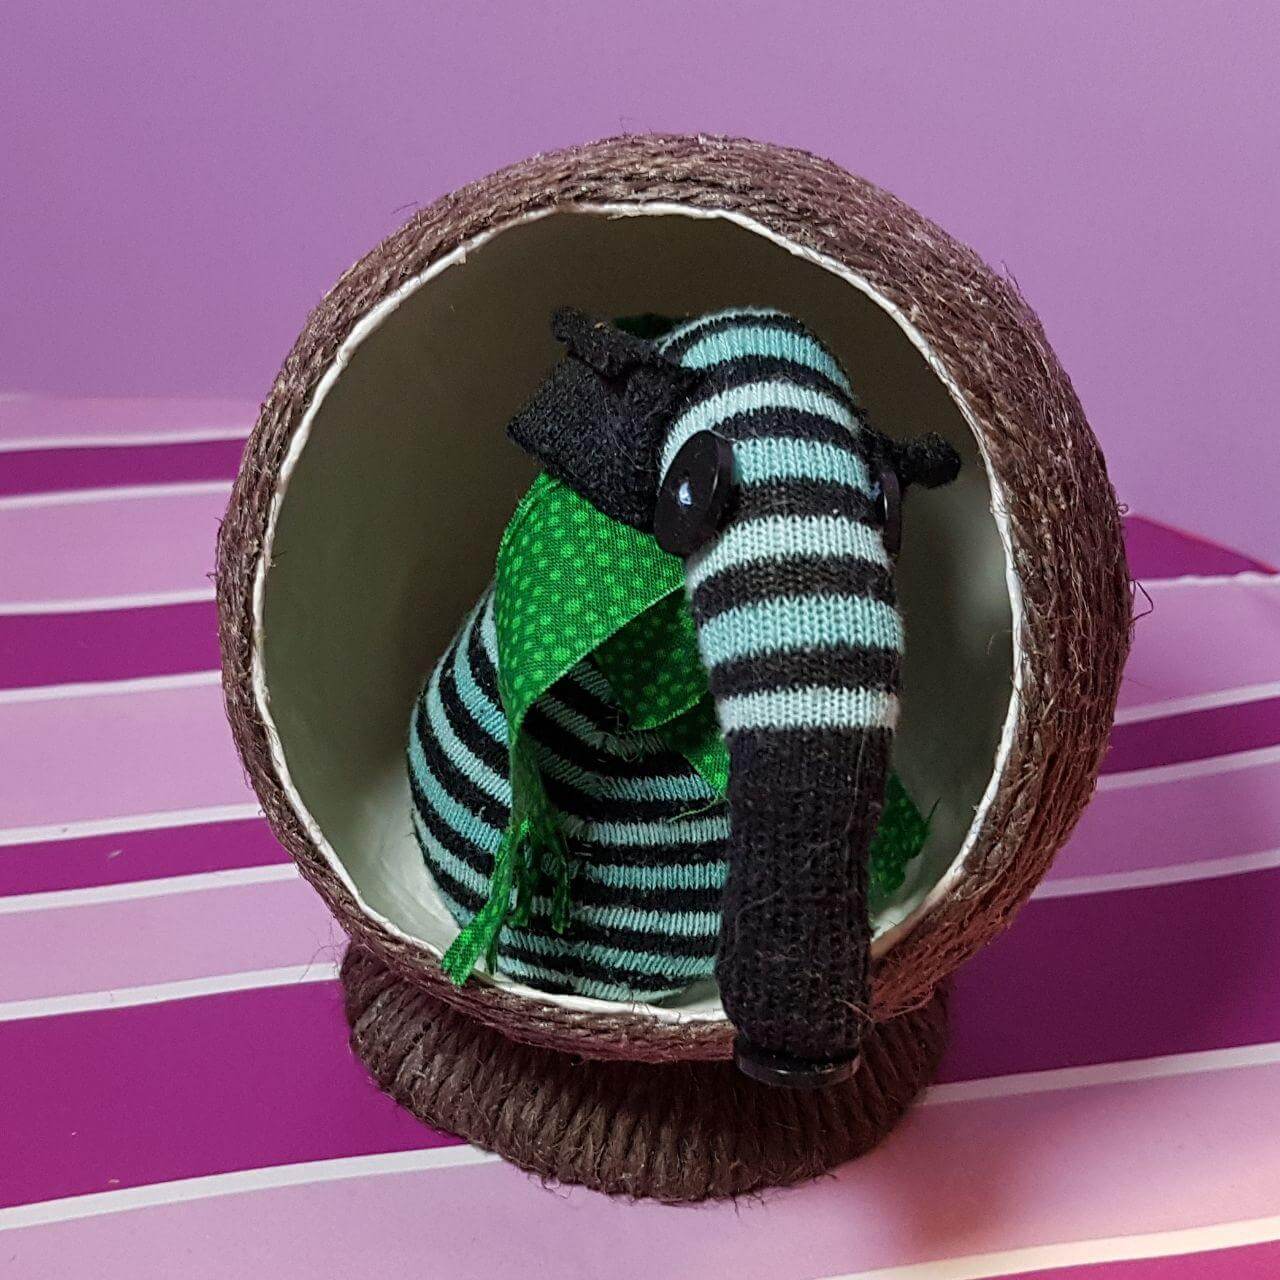
I made a storage pod (aka vaark chair) out of papier mache and string. This was the ‘big’ project for the week as it has quite a few stages and needed time and patience. This is something I started back in 2016, then forgot about it until I tripped over the pod I made while I was sorting the craft bits. If you’re interested in how I did it or making one for yourself, I’ve turned it into a Papier Mache and String Storage Pods Instructable. I’ve also entered it into the Stick It! contest, so if you feel like giving me a vote there (or at the bottom of the page for the Instructable), please do.
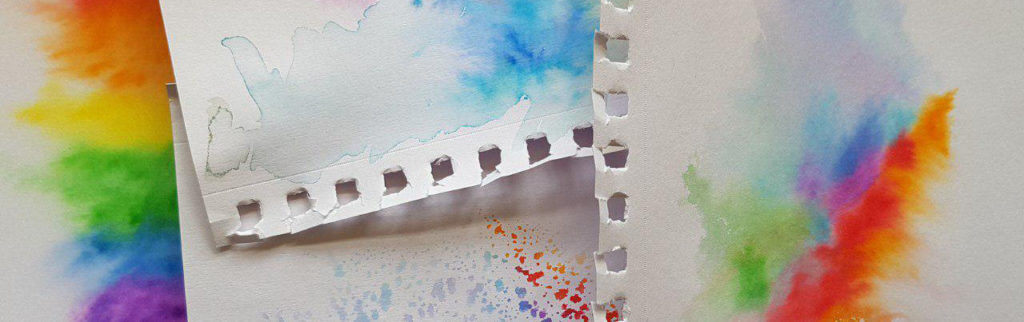
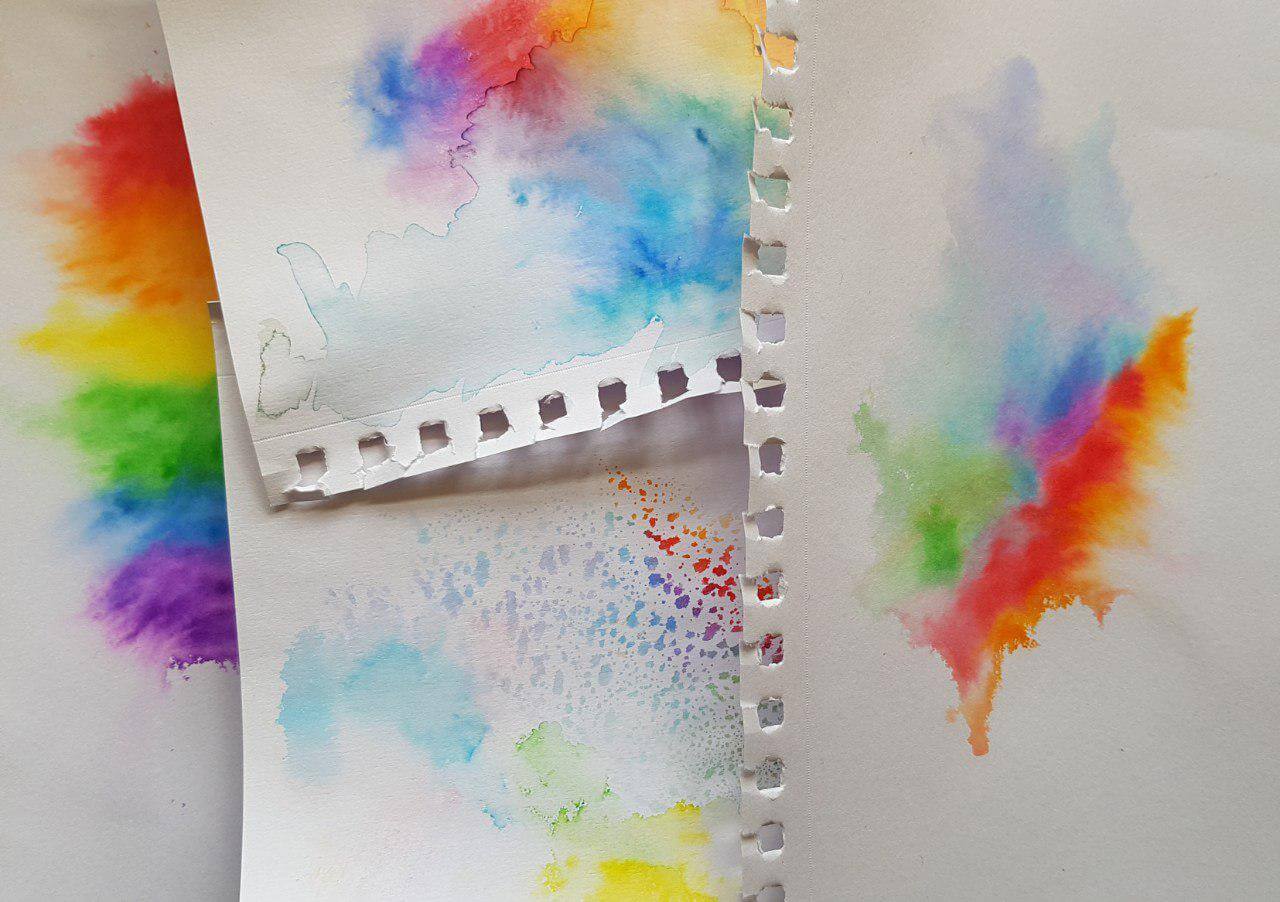
I experimented with the watercolour brush pens to make a few backgrounds for doodling on. These are some reasonably cheap pens by Stationery Island, and I’m really having fun with them. It’s something I’d like to practice with and experiment more because I love the effect and find the process soothing.
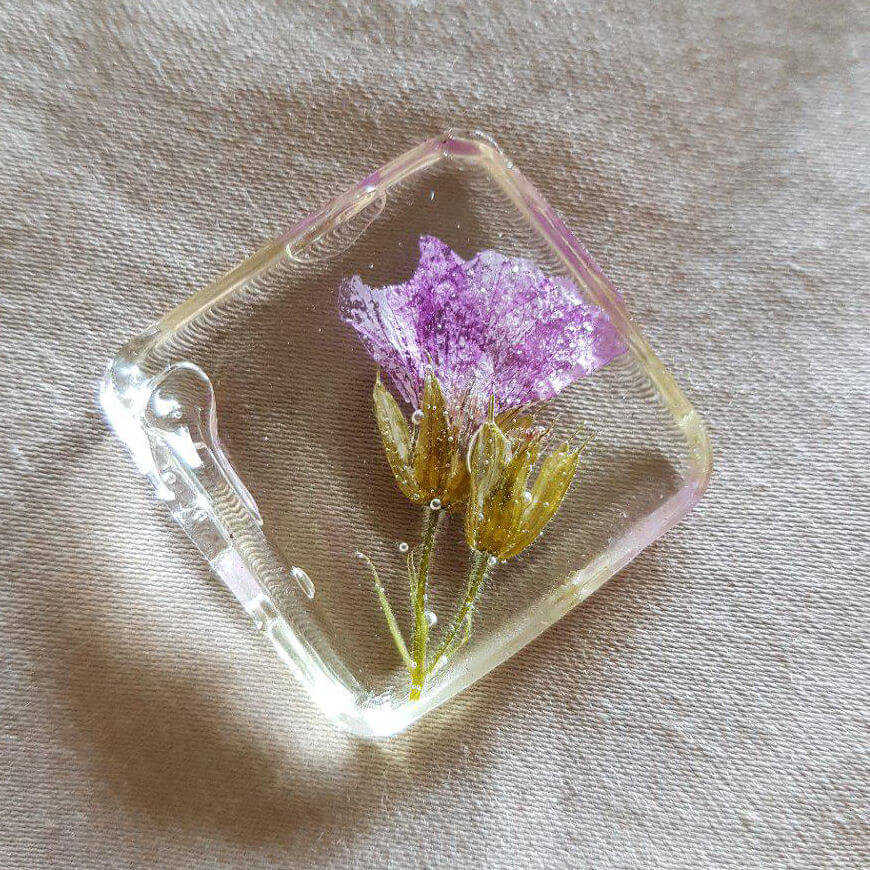
The resin experiment was with a UV resin product. Usually with resin you have to mix the different parts, quickly but carefully pour it where you need it, leave it ages to cure, and then hope you haven’t screwed up. The UV resin is ready mixed, and it’s cured by UV light. This means 20 minutes in sunlight and you’re done. Or, if you have a UV nail lamp or similar, it just takes a couple of minutes. I felt it was successful as a product, and something I could find a few uses for as resin in general isn’t something I’d do often enough to warrant mixing some up. Less successful was my sloppy application. To be fair, it was a quick experiment so I rushed. The big bubble down the side was where I wasn’t gentle with the mould before the resin was dry, so it created an air pocket. The rest of the resin cured clear, smooth and shiny.
The pony beads project didn’t work. To elaborate, I was grinding them in a coffee grinder to make the parts smaller to see if that helped with reducing bubbles in the melted pony beads keyrings. It didn’t. It made it worse, probably due to some sciencey thing involving there being more air bubbles getting trapped. Even if it had worked, it turned out to be messy, with fine plastic particles getting everywhere, and I also realised (just in time) that I shouldn’t be rinsing this stuff down the sink and putting it into the water system where wildlife can ingest it. So I’ll just stick with pony beads and keep on looking for sensible-sized pre-packaged coloured pellets.
All in all an enjoyable week off work where I managed to accomplish things, chill out and generally get some energy back. I’m sure it will all be gone by Tuesday lunchtime. 😉